![]()
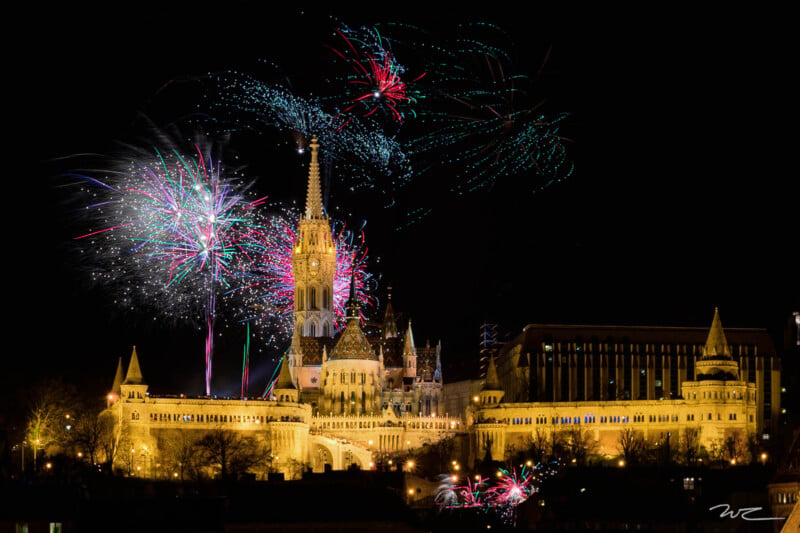
With the Fourth of July quickly approaching in the United States, photographers are getting ready to capture the magic of fireworks shows. If you want to nail some spectacular shots, you’ll want to pay attention to a few key tips.
Photographer Will Chaney put together a series of tips that, while some require a Nikon Z series camera, are valuable for any photographer looking to nail perfect fireworks photos. Chaney says that some specific features in Nikon Z series cameras make this easier, but many camera companies offer similar capabilities to what he describes, and the photo techniques he covers work for any camera, making his tips especially valuable to beginners who are looking to nab great shots.
Essential Equipment
Chaney says that outside of a camera and lens, there is one key piece of equipment that photographers will need to ensure they get sharp images: a tripod.
“The most important function of a tripod is to provide stable support for your camera, ensuring it does not move during a long exposure. To get great fireworks photos, you’ll have your exposure set higher than two seconds which means your camera cannot move or shake while exposing the image,” Chaney says. “In addition to keeping the camera still, this means you won’t have to hold the camera in your hand.”

It’s not just stabilization that makes a tripod a must-have, however.
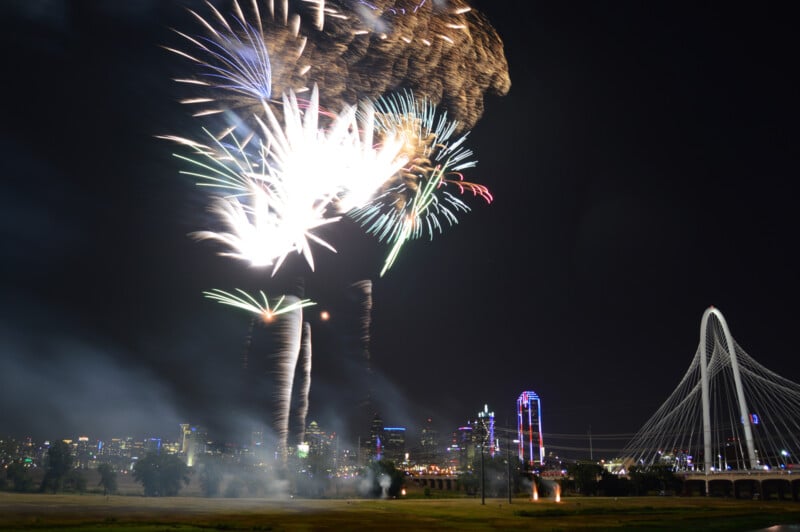
“Utilizing a tripod also allows for repeatable shots with a consistent foreground and background across multiple firework photos. Catching multiple fireworks with the same foreground and background means that you’ll be able to utilize the lighten blend mode in Photoshop to stack multiple exposures. Also, if you take enough photos during the display, you can combine all of them to create a timelapse video,” he continues.
“Finally, a tripod allows you to set up your composition before the show starts. This will give you more time when the show starts to finalize your settings before taking a step back and enjoying the show.”
Tripods aren’t strictly necessary, as any stable platform can serve the purpose. That said, it’s harder to keep a camera perfectly still without one, so they’re certainly worth having.
Utilizing the Camera’s Photo Shooting Options and Features
Chaney says that smart photographers will leverage camera settings to get better results. It almost goes without saying these days, but he highly recommends shooting in RAW>
![]()
“RAW files will provide you with the most dynamic range in your photo and a better chance of adjusting any mistakes in post-processing — especially when it comes to white balance. The scene will likely have a large dynamic range due to the foreground and background that will end up darker alongside a very bright firework explosion as the subject. The ability to better post-process the high dynamic range will help to bring out shadows to provide more interest in the photo,” Chaney says.
Long Exposure Noise Reduction
Chaney also recommends turning a feature off: Nikon calls it Long Exposure Noise Reduction, but most camera makers offer a similarly named function.
“Built within the features of the Nikon Z series cameras is an option to perform Long Exposure Noise Reduction on any photo that is taken. In many cases, this can be a great option to have turned on. However, if you prefer to do noise reduction as part of your post-processing workflow, you’ll want to leave this setting off so that you can control the amount of noise reduction applied and have the full RAW file to work with on your computer,” Chaney says.
![]()
“On top of that, it takes time for the camera to perform long exposure noise reduction between each photo taken. For instance, if you take a two-second exposure, it will take approximately the same amount of time to perform the noise reduction. This increases your interval for shots by two seconds in this case which means you will miss catching a lot of fireworks.”
Focus Mode
While this might sound counterintuitive to many new photographers, autofocus is actually detrimental to taking good fireworks photos.
“Being in focus is key to any aspect of photography, but keeping in focus through a long stretch of photos without having to constantly check focus is also important. Additionally, autofocus can be difficult to achieve with a light source that is changing in brightness. For these reasons, I recommend being in manual focus. This allows you to set the focus point once and leave it set without the risk of autofocus resetting the focus distance,” Chaney says.
![]()
“To set your camera to manual focus there are two options. Option one is to flip the focus switch on your lens from autofocus to manual focus. That said, not all camera lenses have a focus mode switch. If you’re in that situation, you’ll need to go to the Photo Shooting Menu and find the Focus Mode setting to select Manual Focus.”
Self-Timer
If you’re using longer exposures, it’s probably a good idea to use the self-timer mode.
“If you plan on photographing without an automated or wireless control of the camera’s shutter, you’ll want to make sure you use the self-timer. I recommend at least giving a delay of two to five seconds before your photo is captured after hitting the shutter release button. This will help ensure sharp images by allowing any shaking or vibration your finger imposed on the camera to dampen out. This setting will increase your overall interval between shots, but it’s better to have an interval than to have lots of photos that aren’t usable because the camera shook when you pressed the shutter release,” he explains.
![]()
Alternatively, a remote cable release is also a great option (and will serve double duty for interval shooting, which is explained below).
Camera Settings
This is the section most beginner photographers are probably looking to for advice and to summarize, Chaney recommends slow shutter speeds, low ISO, and a mid-level aperture.
“The key to great fireworks photos comes down to your photo settings. For fireworks photography, you’re going to need to utilize a long exposure to capture the trails of light while utilizing a low ISO and adjusting your aperture to avoid overexposure,” he explains.
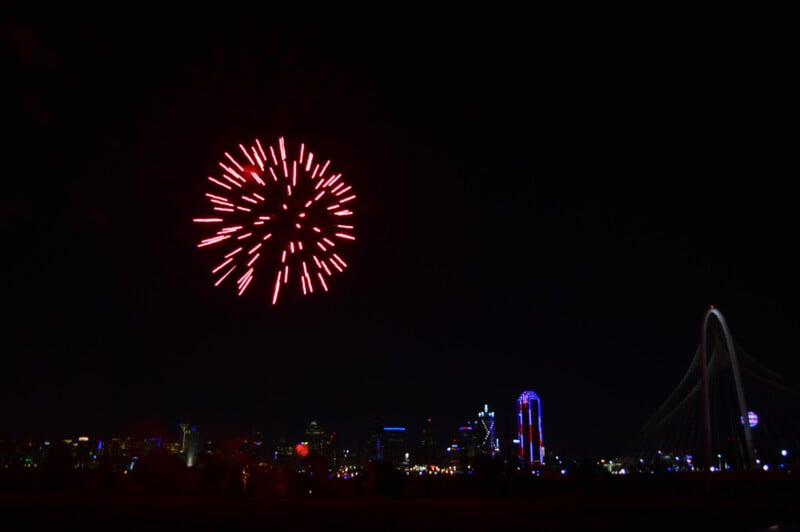
“When shooting fireworks, exposure is the most important setting and will drive the rest of your settings. If your exposure is too short, the fireworks don’t trail. If you go too long, you may capture too many in one set. I find it better to capture a few at a time and layer different shots in Photoshop,” Chaney continues. “A great starting point is two seconds.”

Chaney says that once you’ve settled on a shutter speed, he thinks ISO is arguably the next most important.
“Due to the brightness of fireworks, you’ll want to utilize a low ISO to avoid blowing out the images. I recommend setting this at 64 or 100, whichever is the lower option offered on your camera. You may be able to go slightly higher, but remember that it’s important to keep a long exposure.”
Aperture is the next setting to consider, and Chaney says that photographers should not be surprised that even if they’re shooting at a low ISO setting, the brightness of the fireworks will still come out overexposed.

“If you can’t go any lower on your ISO and are still blowing out your highlights, this will be your trigger to decrease your aperture,” he says.
“I recommend starting around f/5.6 as this keeps your lens fairly open, but still gives room to adjust even on the open end. Additionally, most lenses will be capable of having room to adjust at this sitting. That said, if you find yourself adjusting this setting, be sure to double check you are still in focus after changing the aperture.”

Finally, white balance is something to consider although Chaney says if a photo is being captured in RAW, it’s the least important one by far.
“White balance is by far the least important of the settings to get right, but only if you’ve taken the advice to ensure you’re shooting in RAW. Shooting RAW allows you the most ability to adjust the temperature of the photo in post-processing. Regardless, I recommend setting the temperature to 5000K.”
Chaney’s Recommended Starting Settings
- Shutter Speed – 2 seconds
- ISO – 100
- Aperture – f/5.6
- White Balance – 5000K
With that in mind, Chaney recommends using a camera’s built-in intervalometer to have the camera automatically capture photos at a given pace.
“With the opportunity to be at a fireworks show, you’ll want to have the ability to take it in and enjoy the spectacle. That leads me to my last tip that utilizes the built-in interval timer on the camera,” he says.
![]()
Many cameras offer a built-in interval timer, or intervalometer, but many modern remote triggers offer the same functionality. Below are Chaney’s recommended settings that he uses in his Nikon Z camera:
- Interval – 3 seconds
- Intervals x shots/interval – 1200 x 1
- Exposure Smoothing – Off
- Interval Priority – Off
- Focus Before Each Shot – Off
- Options – Off
“Setting the interval to three seconds means that the camera will attempt to take a photo every three seconds. You’ll need to adjust this value if using a different exposure other than two seconds. A three-second interval will give roughly a one-second gap between each photo being taken,” he explains.
“The ‘interval x shots/interval’ setting specifies that 1,200 shots will be attempted, and one photo per interval will be captured. At a three-second interval, this will give time to shoot for up to an hour.”
Most of all, enjoy the spectacle, and good luck capturing pictures!
Image credits: Will Chaney
