![]()
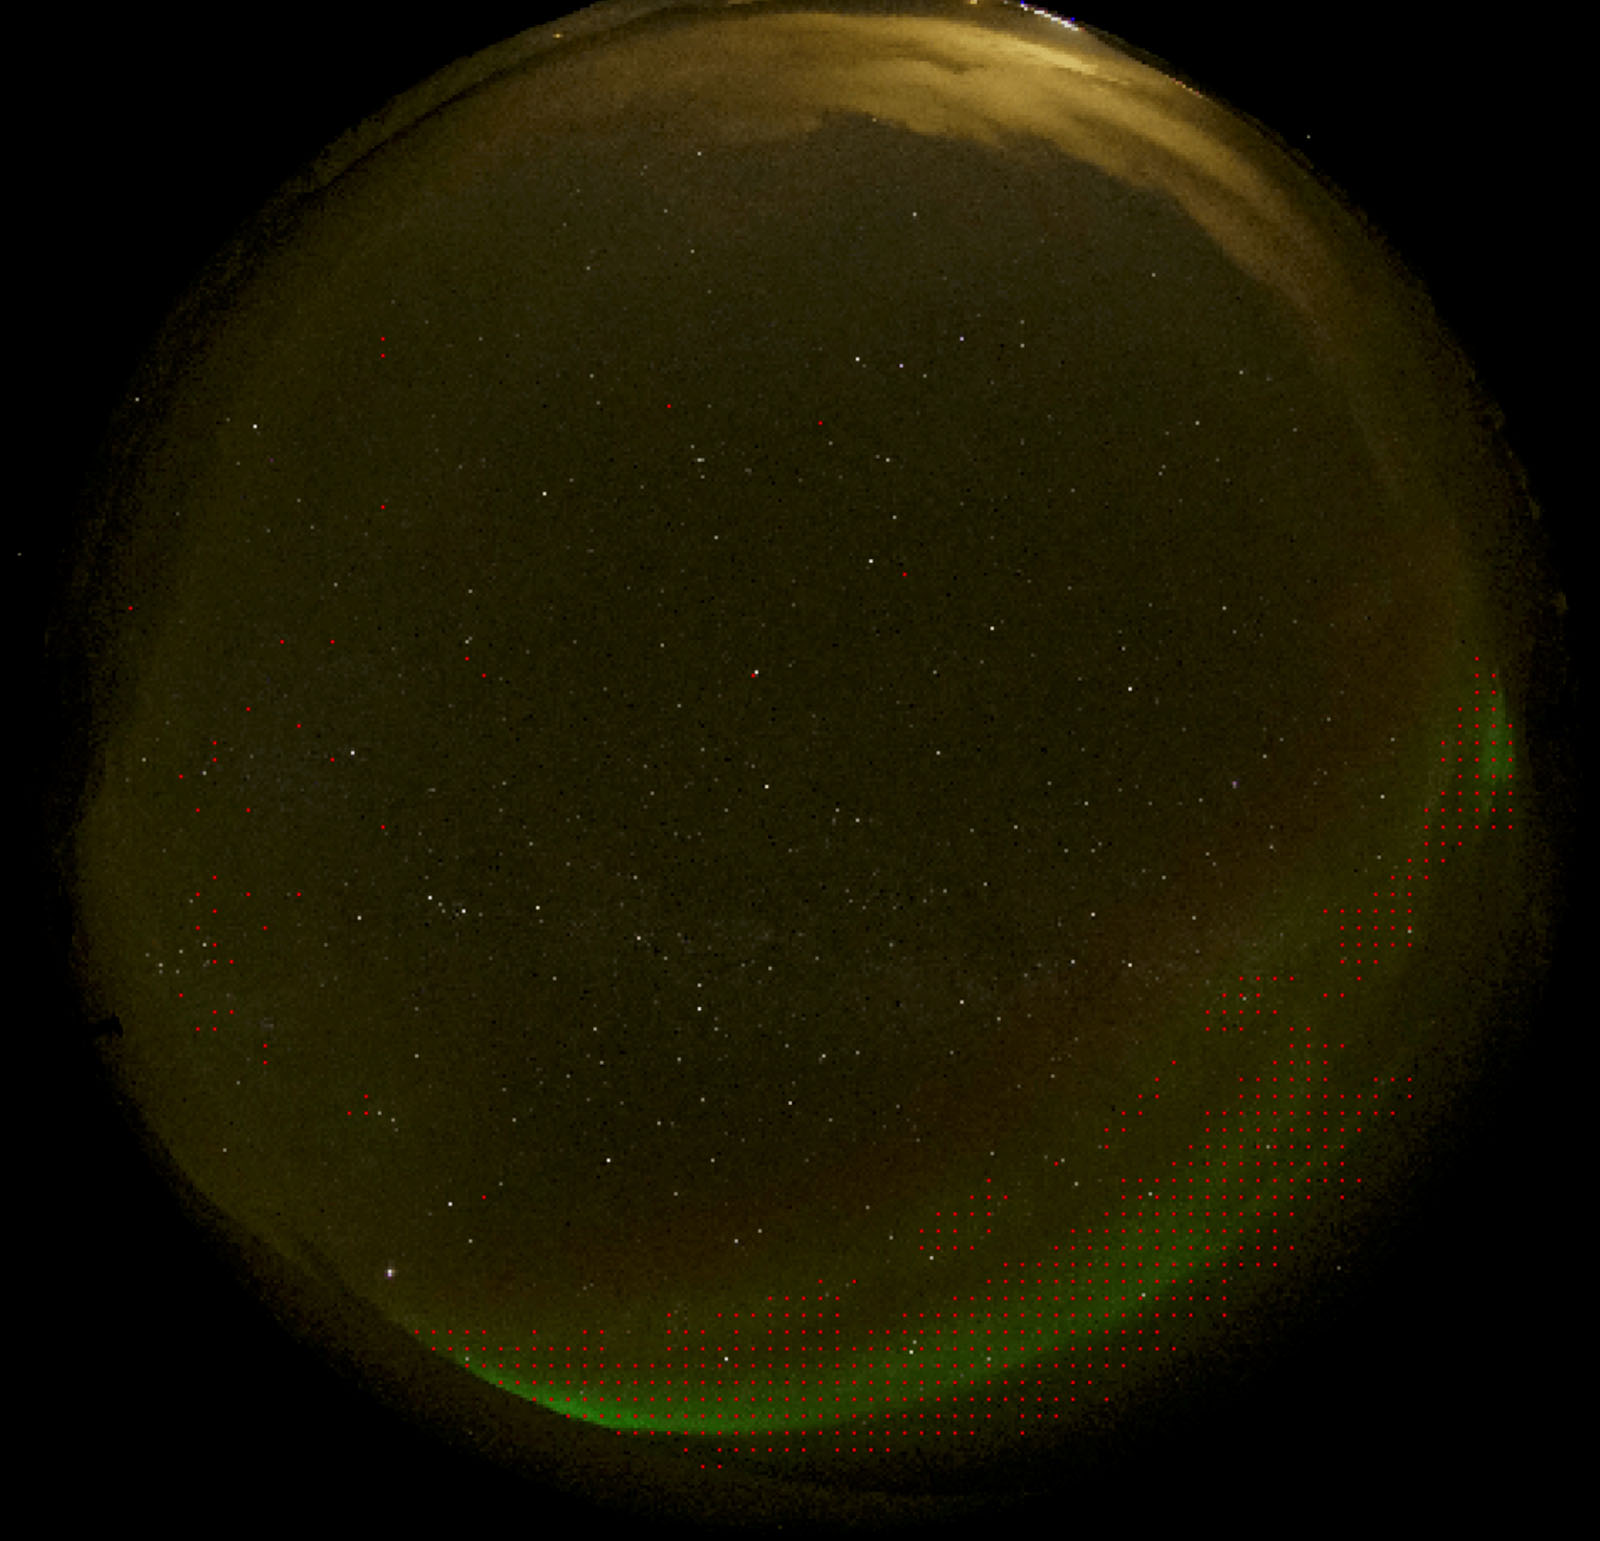
Predicting aurora activity is exceptionally challenging. While there are many great resources out there, like Space Weather, there is still always a bit of unpredictability with forecasting auroras. Sometimes, there’s no choice but to wait and see. Builder and technology expert Frank Prins has a tool for making the “waiting and seeing” part much more bearable, an aurora-detecting all-sky camera that can send alerts when it sees the aurora borealis (or australis).
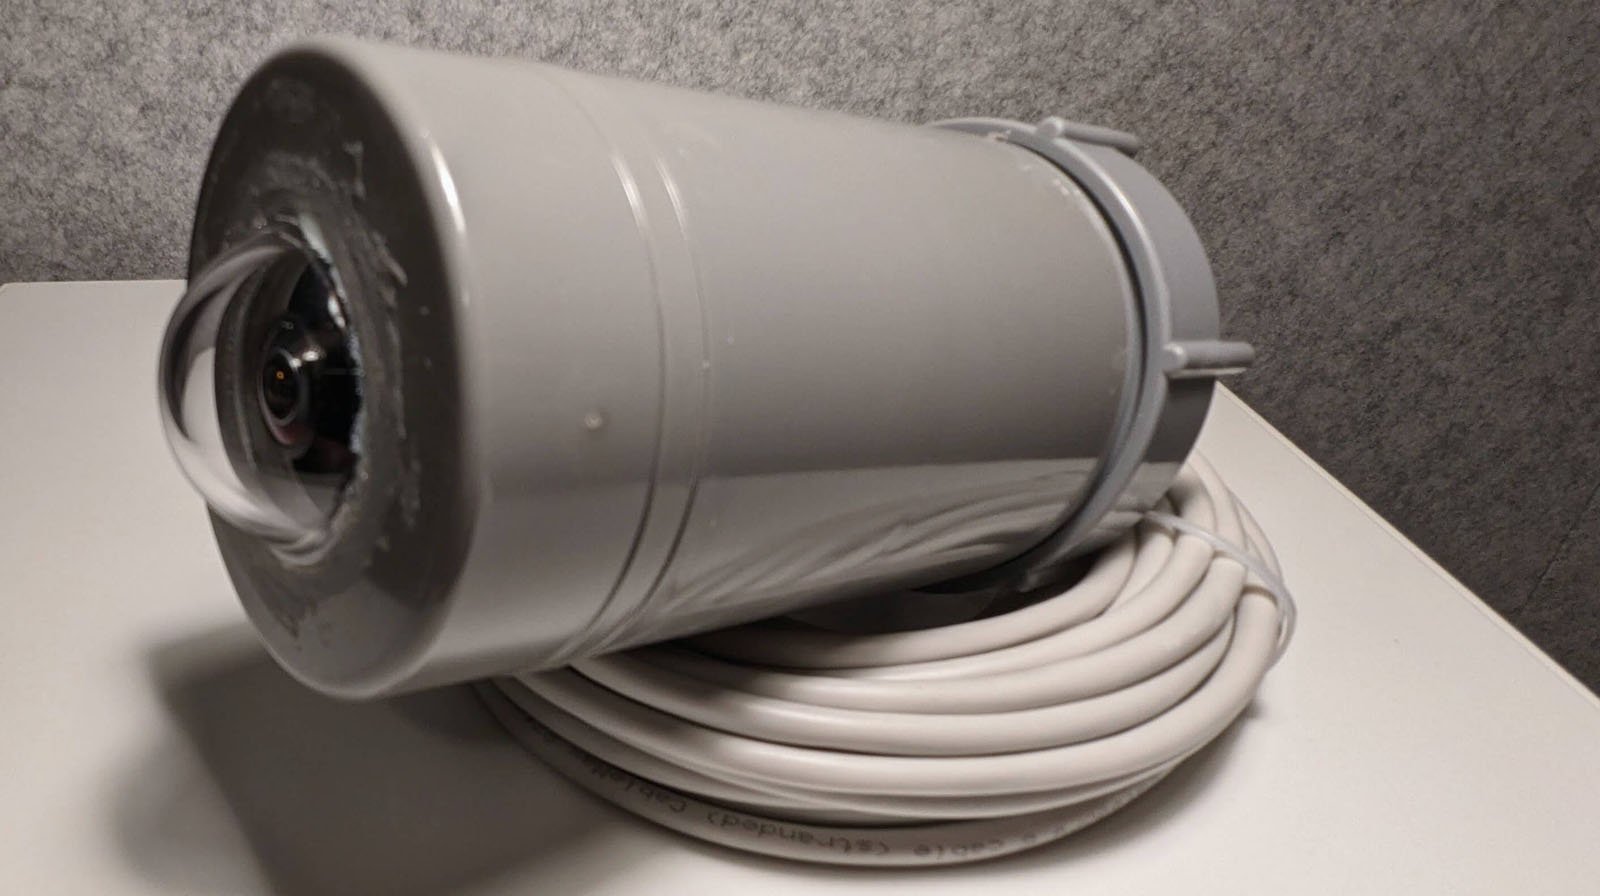
The camera, spotted by Hackaday, runs on Raspberry Pi, and its total components cost is less than €275 (under $300).
“An out-of-the box all-sky camera will cost at least €2,000 and runs into much higher numbers, so that’s not an option for me,” writes Prins on his website.
“My plan is thus very simple; I’ll build my own budget friendly all-sky camera, set it up on the island and build an app that provides real-time alerts. This post describes the first part, and gives you all the information you’ll need to build your own. It also includes a cost breakdown and the STL/F3D files to print the custom part.”
The island Prins is talking about is Svalbard in Norway, where he recently visited during the winter season. A lot of tourists show up there to try to see the northern lights, but there are many factors that make seeing the beautiful night sky display challenging, including unpredictable solar activity and weather. It’s also too cold for people to wait outside for long periods.
So instead of physically being outside, staring up at the sky, Prins’ all-sky camera does the observing. The enclosure is waterproof and can withstand temperatures down to -50 degrees Celsius (nearly -60 degrees Fahrenheit).

To reduce the number of cables, Prins went with Power over Ethernet (PoE). The onboard computer is a Raspberry Pi 4, and it’s paired with a Raspberry Pi HQ Camera (M12 mount) and an ultra-wide angle lens that offers a 184.6-degree field of view — plenty to observe a huge swath of the night sky.
There are plenty of other parts, which are fully detailed on Prins’ blog post, and the total parts cost, including 3D-printed parts, comes to $294.40 at current exchange rates.
In an upcoming blog post, Prins will explain precisely how his new camera detects northern lights.

It’s an affordable, elegant solution and could be an absolute boon for photographers who live in areas where they can see northern lights but don’t necessarily want to freeze all night, or even stay awake. It would be mighty nice to stay warm and cozy inside and get woken up by an alert because there are visible auroras outside.
Image credits: Header photo licensed via Depositphotos.
