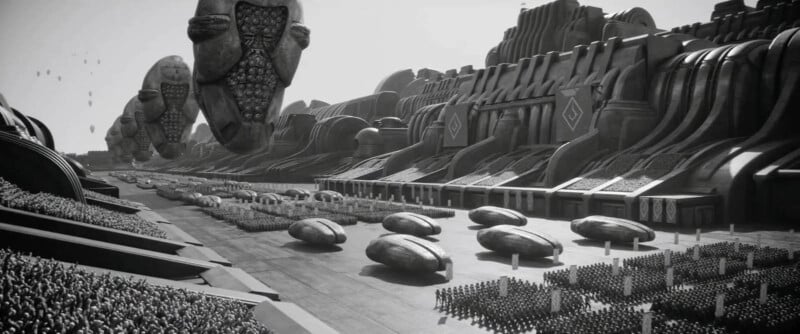
Dune: Part II was recently released in theaters, garnering positive reviews from movie-goers and reviewers alike. Over at Kolari, we were hyped to see infrared photography used in one of its most visually stunning movie sequences in recent memory.
Without any major spoilers, the effect is used on the Harkonnen homeworld, Giedi Prime: a poisoned and industrialized world, filled with cities of black, beetle-like skyscrapers and gladiatorial arenas. In stark contrast to the buildings, the light produced by this planet’s sun gives the denizens an inhumanly pale complexion. To realize the book’s depiction of the villainous Harkonnen homeworld and its inhabitants, infrared photography was used to render this imagery on the big screen.
What is Infrared Photography?
Infrared photography lets us capture an invisible and often alien world. The human eye can see wavelengths from about 400nm–700nm (from purple to red). Infrared light exists in wavelengths beyond 700nm.
Infrared has a long history in cinema but is often used for technical purposes or special effects behind the scenes. We have supplied our filters to Lucas Films to be used for motion capture of infrared paint dots for The Irishman. Hoyte van Hoytema recently pioneered a use for infrared to simulate nighttime scenes shot in broad daylight using infrared in a dual camera system, taking advantage of how infrared makes skies appear black in daylight. Only an infrared specialist would be able to detect the use of infrared in these scenes, which is why we were so excited to see Dune showcase the true aesthetic possibilities of infrared cinematography.
Infrared is most popular for its effects on landscapes. Depending on the filter used, blue skies often become black or blue, and leaves can become white or red. Red filters are often used in Hollywood to make skin appear more smooth, but infrared filters amplify this effect to a stunning extreme. If you go deep enough into the infrared spectrum of light, skin becomes translucent to the point where you can actually see veins. Eyes can look otherworldly with unnaturally lucid irises. Often, productions use the lower, milder variants of infrared to keep the models looking relatively normal, like in Russ’s music video and Netflix’s live-action Avatar: The Last Airbender. Other times the unsettling look is the goal, like Apocalyptica’s “Rise” music video, although this is less common.
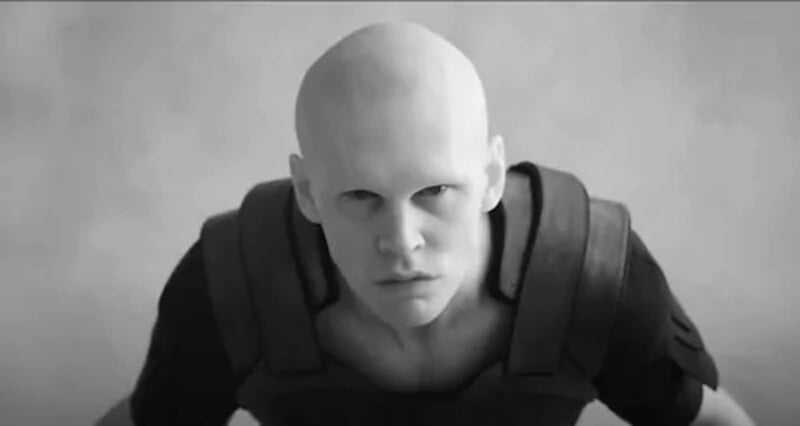
How to Achieve the “Harkonnen Effect”
The Harkonnen Effect is notably black and white, but somehow, it looks mysterious and alien. Why? Unlike classic black-and-white photography, Dune used infrared videography to add an ethereal aesthetic to the black-and-white scenes. Materials captured through infrared photography, like foliage, skies, clothing, and skin tones, will react in unique and sometimes unpredictable ways. Let’s explore how this works practically by attempting to mimic infrared shots from the sci-fi movie. Our media team thought it would be fun to re-create this imagery with Kolari’s in-house gear and share the process we used to achieve it.
To shoot infrared, you will first need either an infrared-modified camera or a full spectrum camera with filters. The most common IR filters range from 550nm (mildest effect) to 850nm (strongest effect). Each filter will provide different results in different scenarios. A full-spectrum conversion makes a digital camera sensitive to UV, visible, and infrared light, allowing the most flexibility and the ability to switch between various clip-in or lens filters to achieve the desired effect. Almost all cameras can be modified to shoot in infrared, starting from the cheapest point and shoots, through DSLR and mirrorless cameras, as well as Canon, Sony, Blackmagic, and Red cinema cameras.
With post-processing, using 665nm can help you achieve B&W imagery. This filter uses a combination of visible and infrared light to produce false-color infrared. 720nm is good if you are interested in shooting mild colors and B&W. 780nm and 850nm produce higher contrast B&W imagery.
The Comparison Shots

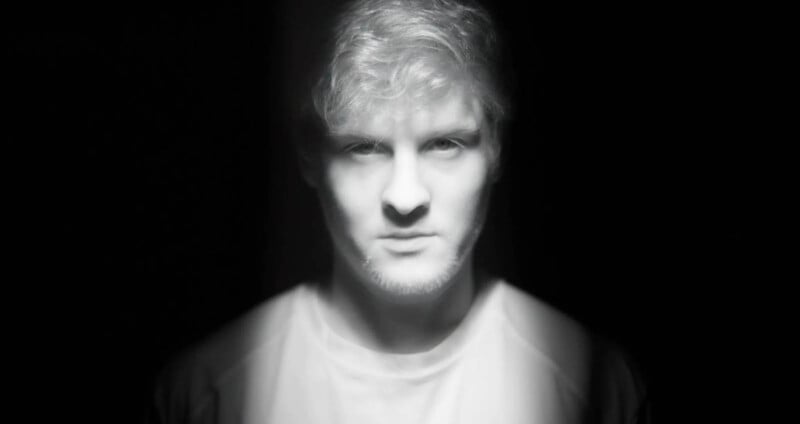
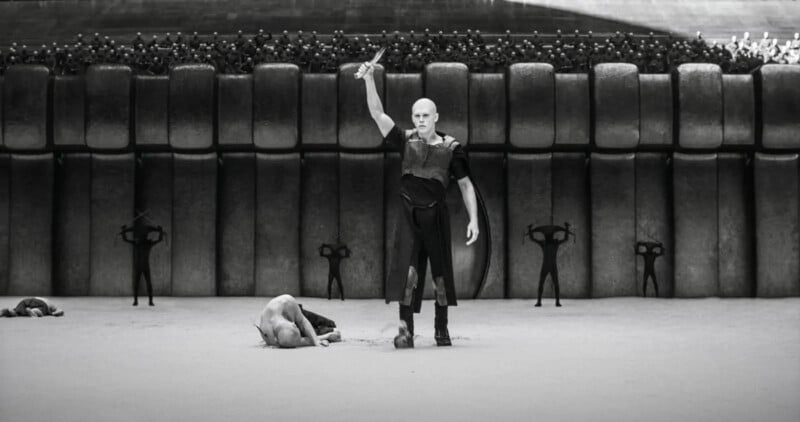
To recreate this portrait of Feyd-Rautha Harkonnen, we used a single high-powered, infrared light and taped each side of the reflector to mimic the lighting of the shot. It took a while to get the correct lighting angle—something too far top-down casted harsh shadows, especially below Justin’s nose, but this dramatic effect could be great for other purposes.
![]()
![]()
Between filters, we decided to shoot this scene with the 850nm filter. 850nm cut out all of the visible light and provided the most similar tones to the reference shot in comparison to the results of 665nm, 720nm, and 780nm—all of which pass some level of visible light into the camera. You’ll need a high-power light if you’re shooting this, as higher nanometer IR filters cut out more light. Here are the results with each filter:
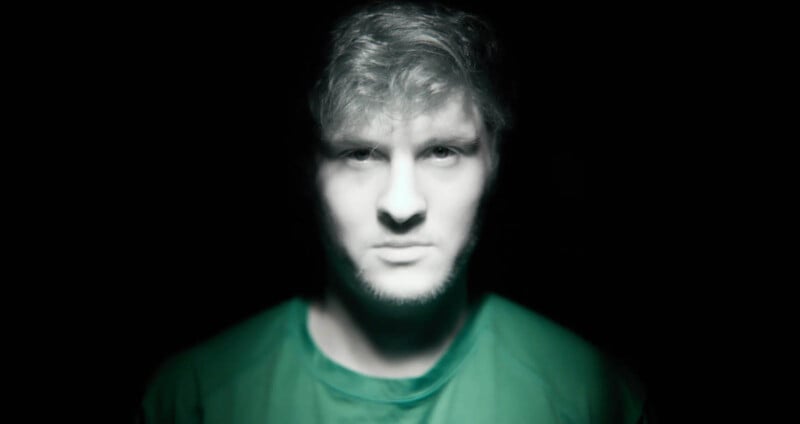
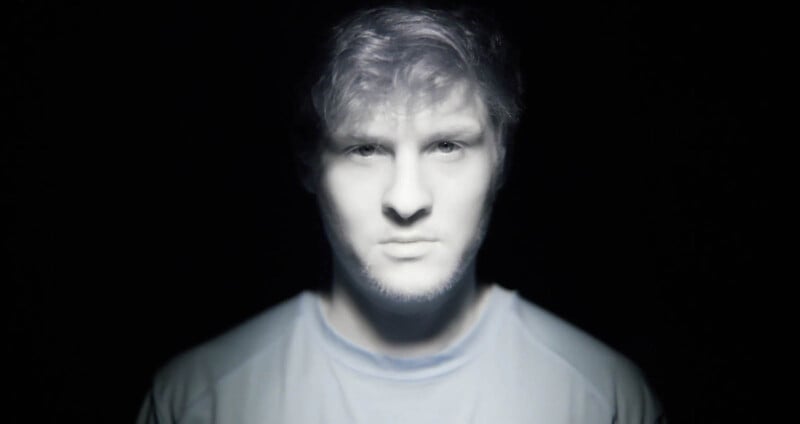
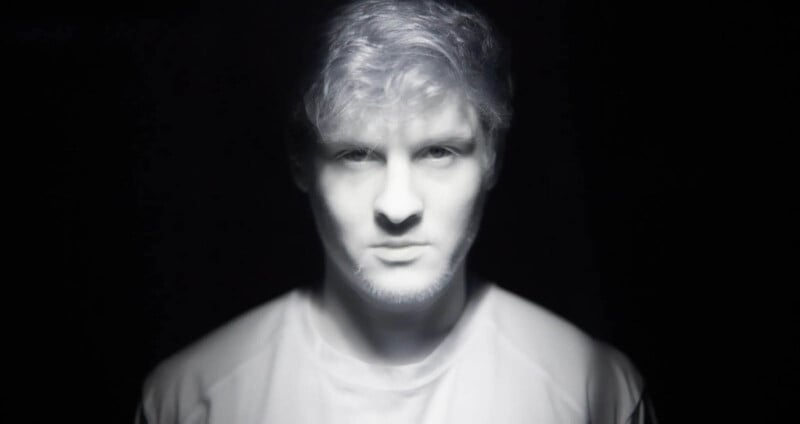
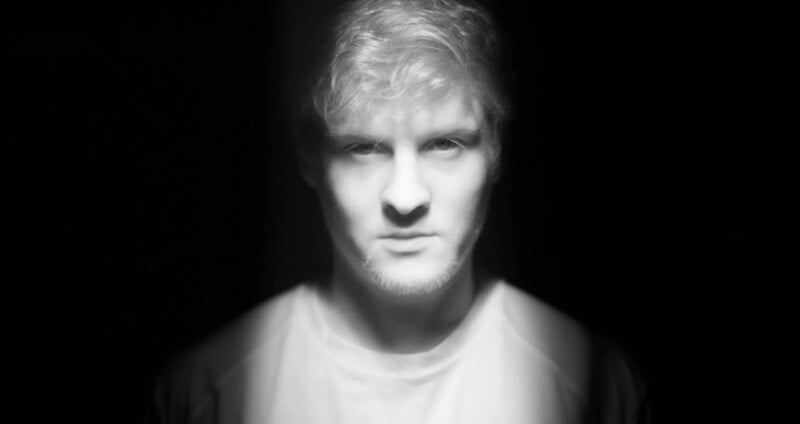
As you can see above, Justin’s black shirt appears vastly different between shots taken with each IR filter. Fabric can be particularly challenging for costume design—a struggle for the Dune production as well. Many synthetic black inks will become white in infrared, while naturally dark pigments tend to stay dark. This can sometimes result in white fabrics with visible dark threads or other unexpected issues. You will also notice some minor hue and contrast differences in his hair. Hair dye can often appear brighter in infrared. This will be important for a hair and makeup team to take into consideration before shooting in infrared on a movie set. Of course, all of the Harkonnens are bald, so this wasn’t an issue in Dune!
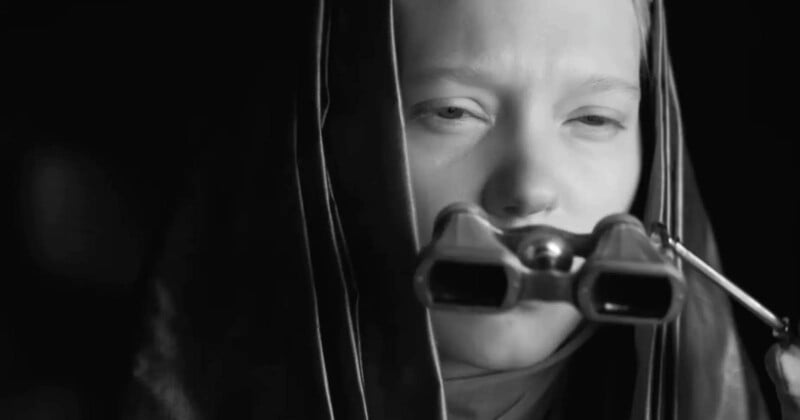
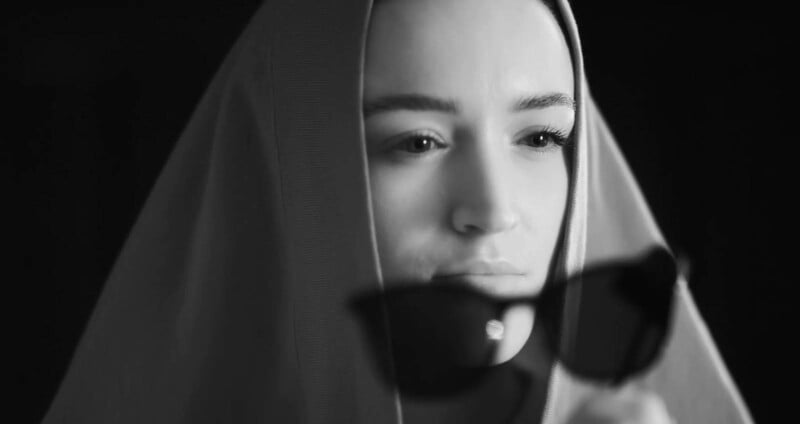
This shot of the Bene Gesserit agent, Margot Fenring, watching the spectacle on Giedi Prime was a little more challenging to recreate. We needed to capture the soft lighting of the scene, while also making sure there was enough lighting to pass through IR filters.
![]()
![]()
With a single light, we bounced it to create soft lighting. It was just enough to make the shot work. In our test shot with our stand-in for the Bene Gessserit, Matt (as seen above), we were able to nail the lighting for Amber to take on the role of Margot Fenring.
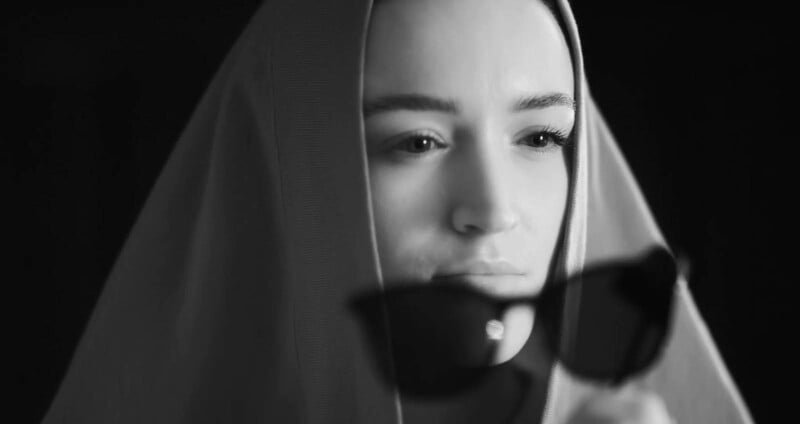
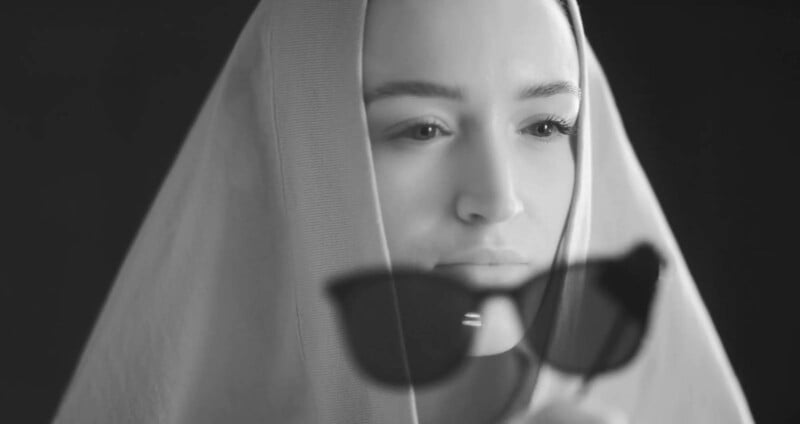
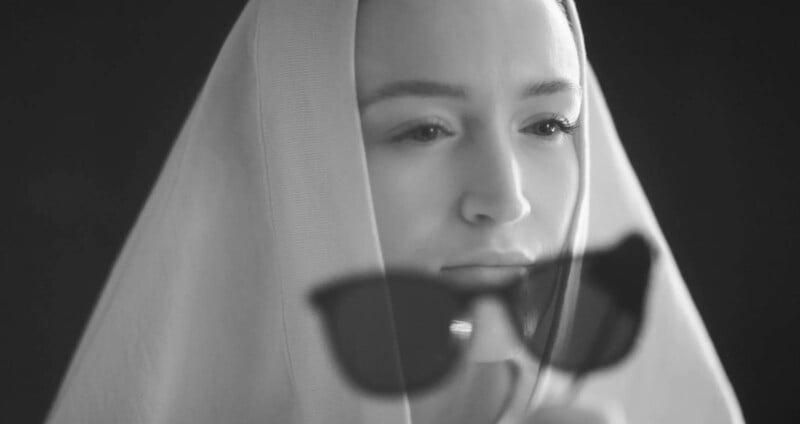
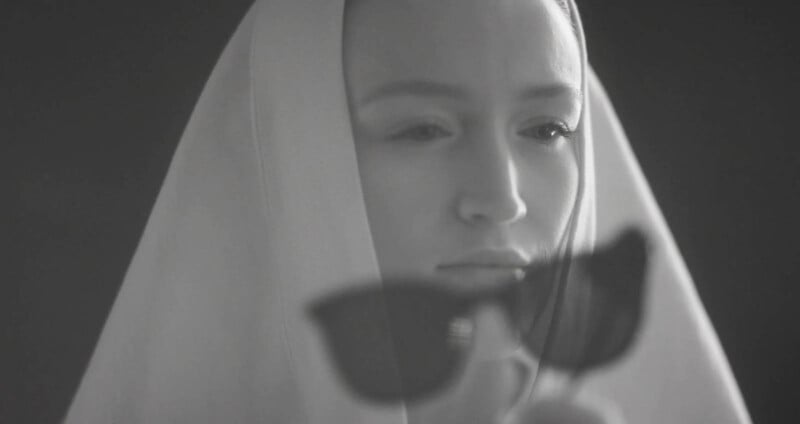
While 850nm worked fantastic in our first shooting, it did not work at all in this scenario. It made the lighting too flat and cut out a majority of the key light on Amber’s face. You can see the decrease in light from 665nm all the way to 850nm. Compare the 850nm shot to using 665nm in combination with desaturation—since 665nm filter partially operates in visible light, it provided us more to work with in post-production.
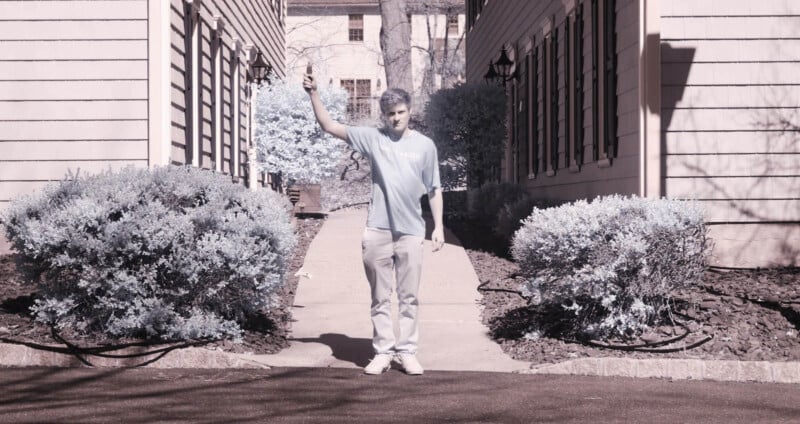
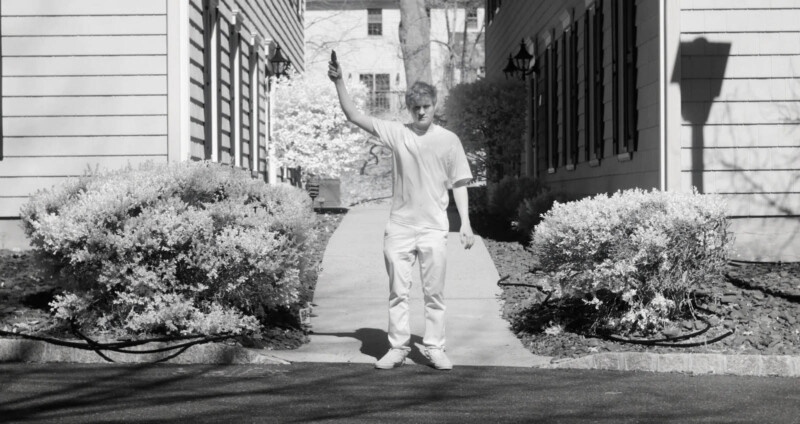
Although we didn’t have a colosseum or the proper lighting to work with, we were able to mimic the composition of Feyd-Rautha Harkonnen in this wide-angle shot. As you can see below, the progression of 665nm to 850nm provided different results in comparison to the reference. The color hues are still present at 665nm and 720nm but fade away going towards 780nm and 850nm. Particularly with 665nm, the color of the foliage pops compared with the other IR wavelengths as it overlaps partially in the visible light spectrum. For this shot, 780nm seems to work well. 850nm demonstrates how a sunny day can be transformed into a harsh and forbidding landscape.
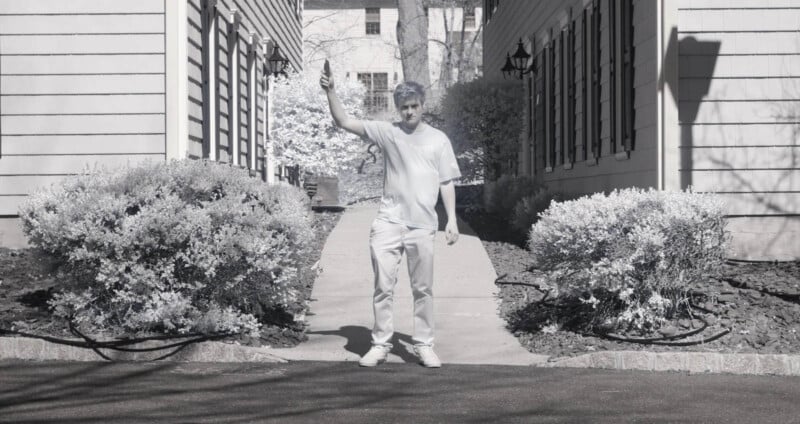
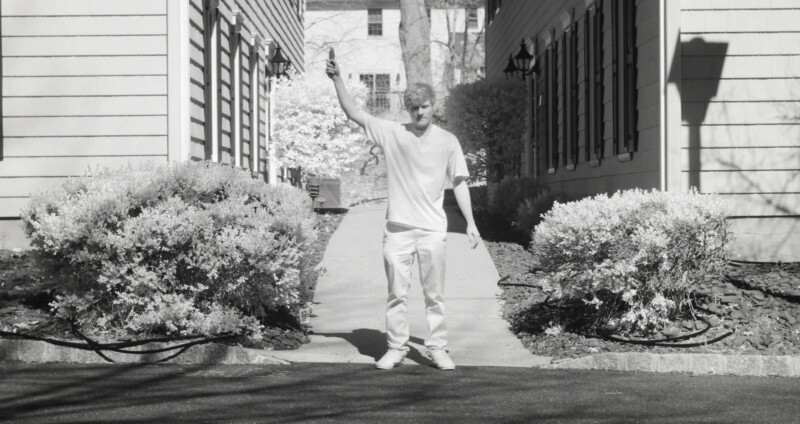
Final Thoughts
Infrared videography can be a powerful tool in creating an unfamiliar atmosphere in a sci-fi movie by revealing light in a range of the electromagnetic spectrum that human eyes are unable to see. It captures light that is beyond the visible spectrum, resulting in surreal, color-distorted images. By using this technique, filmmakers can heighten the sense of tension and intrigue by altering the perception of the scene by the audience, making ordinary landscapes or scenes appear uncanny and unsettling with a monochromatic palette that is distinct from traditional black and white. This distinct color palette can enhance the eerie feeling of the environment, evoking a sense of desolation or alienation of a creepy and immersive atmosphere which was used so well in Dune: Part II.
Kolari has shown that you can achieve the “Harkonnen Effect” at home through infrared conversion of mirrorless cameras and infrared filters in many different form factors. You can use any infrared magnetic clip-in filters, drop-in filters for the Kolari EF-EOS R Drop-in Mount Adapter, or lens filters to achieve this effect. You can use our filters to achieve this effect, but to get the true glory of the imagery of Dune: Part II, you would ideally use an entire modified cinema camera and one of our large format cinema filters. IR isn’t limited to black and white imagery: you can use different LUTs and settings to tweak your visuals with otherworldly false-color infrared schemes to create your own sci-fi masterpiece.
About the author: Phillip Andrew Iglesias is a photographer and media coordinator at Kolari Vision, which offers pro-level filter optics and digital camera modifications. The opinions expressed in this article are solely those of the author. This article was also published here.
